Your Complete Guide to a Successful DIY BTO Defect Check
Purchasing a Build-To-Order (BTO) flat is an exciting milestone, but it comes with the responsibility of ensuring your new home is in perfect condition before you move in. A thorough defect check is crucial to identify any issues that need to be addressed by the Housing and Development Board (HDB) or the contractor. While hiring a professional defect inspector is an option, conducting a DIY defect check can save you money and also give you a deeper understanding of your new home. In this guide, we’ll walk you through the process of performing a successful DIY home defect check using the tools and resources available on BTO Defect Check.
Why Perform a DIY Defect Check?
Cost savings
Professional defect inspections can be expensive. By doing it yourself, you can allocate your budget to other home improvement needs.
Personal involvement
You’ll gain firsthand knowledge of your home’s condition and be able to prioritize repairs.
Flexibility
You can inspect your home at your own pace and schedule, ensuring no area is overlooked.
Empowerment
Learning how to identify defects equips you with valuable skills for future home maintenance.
Essential Tools for a BTO Defect Check
Before you begin, it’s important to gather the right tools. BTO Defect Check offers a comprehensive list of equipment that can help you conduct a thorough inspection. Here are your must-have tools:
- Torchlight. A bright, portable light source is essential for inspecting dark corners, cabinets, and hidden areas.
- Telescopic mirror. This is a portable mirror with a telescopic handle that you can use to look at hard-to-see spots like above the door frame.
- Tile Tapper. Also known as a brick tester, this tool helps you check if tiles are hollow.
- Spirit Level. This tool helps you check if surfaces like floors, walls, and shelves are even and level.
- Measuring Tape. Use this to measure gaps, cracks, or uneven spaces.
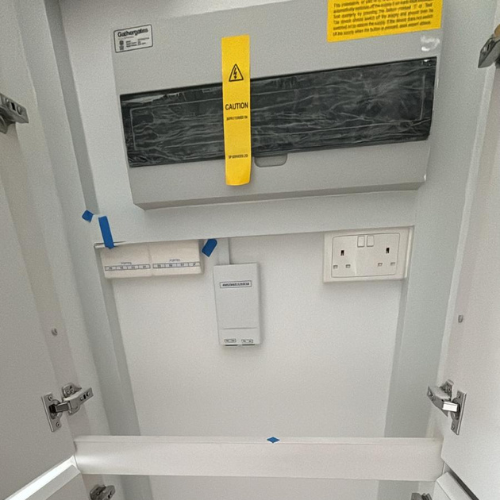
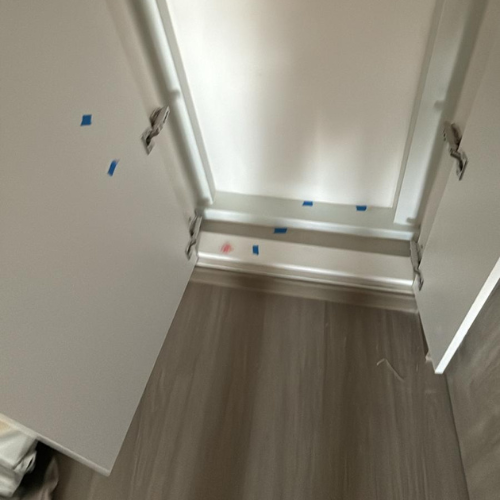
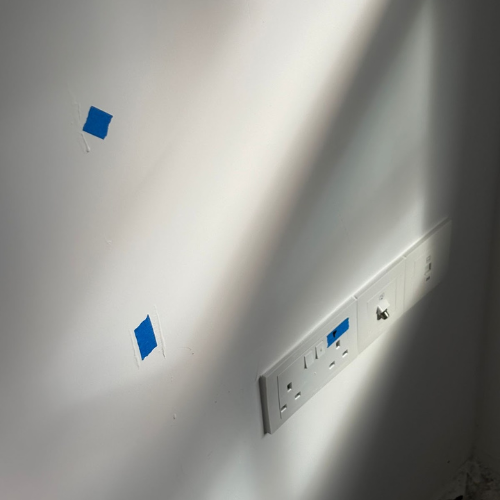
- Marker Tape or Stickers. These are useful for marking defects so you can easily locate them later.
- Smartphone or Camera. Documenting defects with photos is crucial for reporting and follow-up.
- Plumb Bob. This tool helps you check the vertical alignment of walls and structures.
- Data Link Tester. This handheld tool lets you check the functionality of your flat’s built-in LAN port and associated cable network.
- Socket Tester. Ensures electrical outlets are functioning correctly and safely.
- Notebook and Pen. Keep a detailed record of all defects for reference.
If you are unsure about how to use these tools and equipment, feel free to reach out to us at 84383707. We will try our best to advise.
Step-by-Step Guide To Conducting a DIY BTO Defect Check
1. Prepare Your Inspection Plan
Start by downloading the HDB Defect Checklist from the BTO Defect Check website (or scroll below). This checklist serves as a guide to ensure you cover all areas of your flat. Now, divide your flat into sections (e.g., living room, bedrooms, kitchen, bathrooms) and inspect one area at a time.
2. Inspect Walls and Ceilings
Look for cracks, uneven surfaces, or paint defects. Use the spirit level to check for alignment. To spot imperfections in the paintwork or plaster, shine your torchlight at an angle. Then check for water stains or dampness, which could indicate leaks.
3. Check Floors and Tiles
Walk across the floor to feel for unevenness or hollow spots. Inspect tiles for cracks, chips, or improper alignment. You can use the spirit level to ensure the floor is even.
4. Examine Doors and Windows
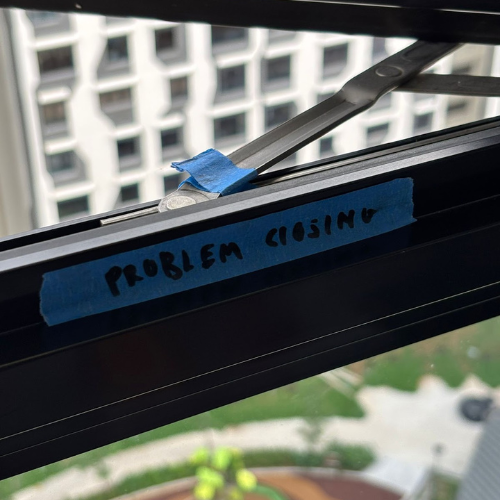
Open and close all doors and windows to check for smooth operation. Look for gaps, misalignment, or difficulty in locking. Then inspect the seals and hinges for damage.
5. Test Electrical Outlets, Switches, and Cable Wiring
Use a socket tester to ensure all outlets are functioning and properly grounded. Check light switches and fixtures for proper operation, and use the data link tester on your flat’s LAN port. Don’t forget to look for exposed wiring or loose connections.
6. Inspect Plumbing and Sanitary Fixtures
Turn on all taps to check water pressure and drainage. Then look for leaks under sinks and around toilets. Flush toilets to ensure proper functioning.
7. Check Cabinets and Built-In Furniture
Open and close all cabinet doors and drawers to ensure smooth operation. Pay attention to any scratches, dents, or misalignment. Check also the stability of shelves and fixtures.
8. Document and Report Defects
Take clear photos of each defect and note its location. To highlight defects for easy reference, use marker tape or stickers. Then compile a detailed report using the HDB
| Number of rooms : | ||||||
|---|---|---|---|---|---|---|
| Number of toilets : | ||||||
| Exterior | Living RM | Kitchen | MBR + Toilet | RM1 | RM2 | Toilet |
| Flooring | ||||||
| Tiles Unevenness | – | – | – | – | – | – |
| Wrong Tiles | – | – | – | – | – | – |
| Hollow Tiles | – | – | – | – | – | – |
|
1. To check for hollow tiles, simply use the brick tester and knock the rounded end against each tile. Normal tiles should give off the same sound. If the sound gives off an achoy and empty sound, it might be hollowed. 2. For toilets, ensure that the tiles are slightly tilted towards the water trap. |
||||||
| Ceiling/Walls | ||||||
| Unevenness | – | – | – | – | – | – |
| Painting Issues | – | – | – | – | – | – |
| Hairline Cracks | – | – | – | – | – | – |
| General Aesthetic (Tiling) | – | – | – | – | – | – |
| Wrong Tiles | – | – | – | – | – | – |
| Fixtures/Carpentry | ||||||
| Window Gasket | – | – | – | – | – | – |
| Window Seal | – | – | – | – | – | – |
| Window Shoot Lock | – | – | – | – | – | – |
| Window Handle | – | – | – | – | – | – |
| Window Frame Workmanship | – | – | – | – | – | – |
| Window Glass | – | – | – | – | – | – |
| Skirting Workmanship | – | – | – | – | – | – |
| Skirting Silicon | – | – | – | – | – | – |
| Door Handle function Properly | – | – | – | – | – | – |
| Door Frame is tight and secured | – | – | – | – | – | – |
| Door Lock | – | – | – | – | – | – |
| Door Hinges no rust and aligned | – | – | – | – | – | – |
| Bifold Door magnet works | – | – | ||||
| Bifold Door handle works | – | – | ||||
| Bifold Door Hinges | – | – | ||||
| Bifold Door Laminates | – | – | ||||
| Metal Gate Handle | – | |||||
| Metal Gate Exterior Scratches/rust | – | |||||
| Metal Gate Hinges | – | |||||
| Wooden Door Laminate scratches | – | |||||
| Wooden Door hinges | – | |||||
| Peep Hole is secured | – | |||||
| DB Box Carpentry | – | |||||
| DB Box Cover and sealed | – | |||||
| Bomb Shelter Door Seal | – | |||||
| Bomb Shelter Door handle | – | |||||
| Bomb Shelter Door Hinges | – | |||||
| Laundry Rack Functionability | – | |||||
| 1. Using the inspection mirror, check spots above the door to ensure workmanship is consistent. | ||||||
| Electrical | ||||||
| Sockets Functionality | FALSE | FALSE | FALSE | FALSE | FALSE | FALSE |
| Sockets Workmanship | – | – | – | – | – | – |
| Switches can on/off | – | – | – | – | – | – |
| Switches Aesthetics (Silicon, scratches, etc) | – | – | – | – | – | – |
| LAN line Functionality | – | – | – | – | – | – |
| Aircon Functionality (Only if Applicable) | – | – | – | – | – | – |
| Aircon Trunking/Piping Workmanship | – | – | – | – | – | – |
|
1. Be reminded to test the RCCB “Test” Button. After pressing the “Test” button, the RCCB should trip and stop electrical currents from flowing through. 2. Aircon should be tested on HIGH mode to ensure no leakage. 3. Make sure all switches can be turned on. 4. Make sure all LAN ports can be opened. |
||||||
| Plumbing | ||||||
| Toilet Functionality – Flush Check | – | – | ||||
| Tap Functionality | – | – | ||||
| Silicon Workmanship of bathroom fixtures | – | – | ||||
| Showerhead functionality when on – No Leakage | – | – | ||||
| Overflow Discharge Valve in Basin If rusty | – | – | ||||
| Functionality of Overflow Discharge Valve when basin is filled fully | – | – | ||||
|
1. It is advisable to test all water outlets including the one in the service yard. 2. Shine a bright light down to ensure there is little to no debris. (Some paint marks or stain is fine, as long as it’s not cement) |
||||||
Tips for a Successful DIY Defect Check
- Be thorough. Take your time to inspect every nook and cranny. Rushing through the process may result in overlooked defects.
- Use natural light. Whenever possible, conduct your inspection during daylight hours to take advantage of natural light.
- Enlist help. Ask a friend or family member to assist you. A second pair of eyes can help spot defects you might miss.
- Stay organized. Keep all your notes, photos, and checklists in one place for easy reference when reporting defects.
- Follow up. After submitting your defect report to HDB, follow up to ensure all issues are addressed promptly.
Reporting Defects to the HDB
Once you’ve completed your DIY defect check, it’s time to report your findings to HDB. Here’s how:
- Submit online. Use the HDB Portal to upload your defect report and photos.
- Schedule an inspection. HDB will arrange for a contractor to inspect and rectify the defects.
- Do a follow up, if necessary. After repairs are completed, conduct a final inspection to ensure all defects have been resolved.
Conducting a DIY BTO defect check is a rewarding process that empowers you to take control of your new home’s quality. By using the tools and resources available on BTO Defect Check, you can perform a thorough inspection and ensure your flat is in perfect condition before moving in. Remember, a little effort now can save you from costly repairs and headaches in the future. Happy inspecting!